In the van
A GE oven reports faults from its control board, temperature sensor and door lock, and that is the whole list; burner troubles on a propane range in Griffin or Summit Lake never produce a code.
Weekdays 7:30–5:30 · Saturday 9–1 · closed Sunday · Woodland Square Loop, at the Olympia–Lacey line
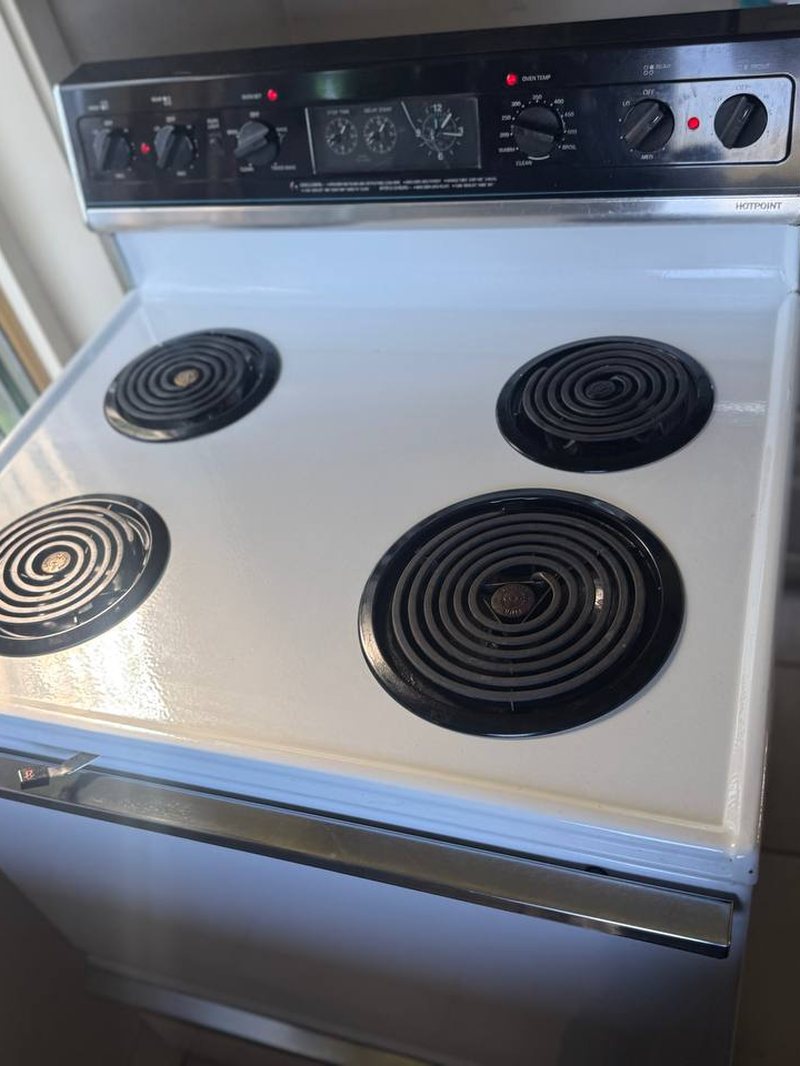
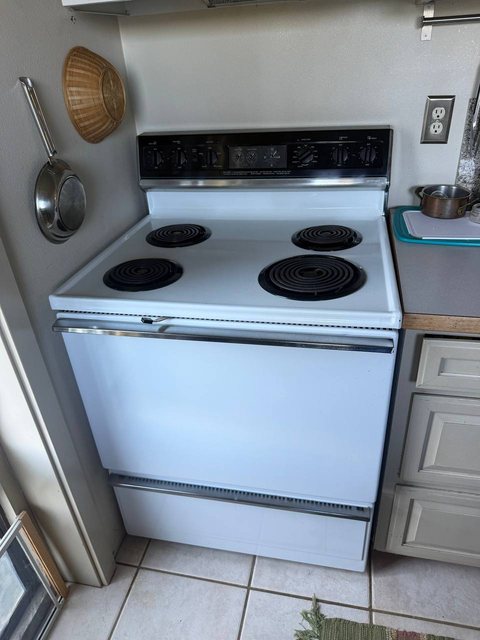
The electronic range control on a GE oven monitors a short list of inputs: the resistance of the oven temperature sensor, the state of the door-lock switches, the keypad, and its own relays. When one reads wrong it stops heating, beeps, and shows an F code. F2 means the sensor reported a temperature well above what was asked for. F3 and F4 mean the sensor circuit read open or shorted. F7 and F76 mean a key on the panel appears to be held down. F9 and F90 mean the door lock did not reach the position the control expected. F96, on the ranges that show it, generally points to the cooling fan behind the control.
Power quality writes a lot of GE codes in Thurston County. A PSE outage that comes back with a surge, or a generator with rough output running the house through a January storm, can leave the clock blinking and an F1 or F7 on a control that was fine the day before. Damp kitchens in older Eastside houses do the rest, letting moisture under a keypad ribbon until a key reads stuck on a rainy morning.
| Code | What the display means | What is usually behind it | What we do |
|---|---|---|---|
| F0 · F1 | Keypad shorted or the control failed its self-check | In most cases a stuck or moisture-affected key, or a control board that absorbed a surge during a PSE event or a generator run | Disconnect the keypad ribbon to isolate the fault, test the control, and replace the keypad or board that is actually at fault |
| F2 | Oven temperature exceeded the limit for the mode it was in | Usually a sensor drifting high, a stuck bake or broil relay on the control, or a self-clean cycle in a kitchen already hot from summer | Meter the sensor at room temperature, watch the relay under load, and replace the sensor or control that is misbehaving |
| F3 | The board sees an open sensor loop | A sensor whose element has failed, a connector behind the back panel that has corroded, or a wire cooked against the oven liner | Test the sensor resistance and the harness end to end, then fit a new sensor or remake the connection |
| F4 | The board sees a shorted sensor loop | Often a sensor pinched or crushed during a cleaning or a move, occasionally a wet connector in a damp kitchen | Same test path as F3; a shorted sensor almost always means replacing it |
| F5 · F8 | Control relay or internal logic failure | The control board's relay contacts have welded or its processor has lost a watchdog check, sometimes after voltage swings | Confirm supply voltage, check the relay outputs, and replace the control when it has failed rather than guess |
| F7 · F76 | A key on the touch panel reads pressed | Grease or steam under the membrane, a cracked panel, or a ribbon cable working loose in an older kitchen | Clean and reseat the ribbon, test each key, and replace the touch panel when a key is shorted internally |
| F9 · F90 | Door latch stalled short of where the control expected it | A latch motor that stalled, a lock switch out of adjustment, or a self-clean interrupted by an outage with the door half-locked | Release the latch by hand, test the motor and switches, and adjust or replace the lock assembly |
| F96 | Cooling fan or fan feedback fault on ranges that show it | Usually the fan that cools the control is not spinning at the expected rate, sometimes a blocked intake full of dust and pet hair | Clear the airflow path, test the fan under power, and replace it if the bearings are dry or the motor has failed |
Stop when a code returns after power is restored at the breaker, when you smell gas, or when the oven heats with the door locked and the control unresponsive. Do not remove the rear panel to test the sensor or the board; the range carries a 240-volt supply and, on gas models, a live gas train right behind it. Do not try to convert or adjust a propane range using a video; the orifices, the regulator and the air shutters have to agree. Call from anywhere inside the Olympia ring and we bring GE sensors, locks and controls to match.
It is the control doing its job: the sensor reported a temperature above the clean-cycle ceiling and the oven shut down. The usual cause is a sensor reading high, occasionally a relay holding on. Do not keep trying self-clean until it is diagnosed; the bake and broil functions will normally still work at ordinary temperatures in the meantime.
Because the control does not watch the burners. Flame color comes from the mix of gas and air at the burner, set by the orifice size, the regulator and the air shutters. A range built for natural gas and run on propane without a proper conversion burns yellow and sooty. That is a hands-on adjustment, not a board fault, and we do it at the range.
The $99 covers the trip and the testing at the range. If you take the repair we quote, that same $99 counts toward what you pay for it, so the quote is the total. If you decide against it, $99 is the full amount for the day, and there is no mileage added for the lakes or the islands.
Not necessarily. F7 reports a key that looks pressed, and a surge can leave the keypad or its ribbon confused. Cutting power at the breaker and restoring it clears many of them. If F7 comes back, the touch panel or the control has been damaged, and we test which one before ordering anything, since the two parts are quite different.
If the range is inside its maker's term for the failed part, we tell you before any part is quoted. Being independent, we have no stake in steering you away from that coverage. If the range is out of term, our work carries its own warranty period, stated on the printed invoice.
What each code usually points at, what is safe to check, and where to stop.
OPEN THE CODE SHEET →OE · UE · IE · LEWhat each code usually points at, what is safe to check, and where to stop.
OPEN THE CODE SHEET →E15 · E24 · E09What each code usually points at, what is safe to check, and where to stop.
OPEN THE CODE SHEET →The price goes on paper before a screw comes out.
Ring or use the form; a phone photo of the display or the model sticker saves a step. We ring back with an arrival window and text again as the van pulls off Woodland Square Loop.
The technician tests the suspect part with instruments, tells you in plain words what gave out, and writes the repair down as a single price. Your $99 is already inside that number.
Fill valves, defrost heaters, igniters, drum rollers, drain pumps, relays — the things well water, salt air and PSE outages wear out on this shore of the inlet. If we have to order something, the second trip is ours to make, not yours to pay for.
You watch the machine finish a whole cycle, the kick panels and the floor go back the way they were, and the warranty term is typed onto the invoice.
Tell us over the phone. For $99 a technician tests the machine and writes the repair down as one price with that $99 folded in, and the invoice carries the warranty term in print.